First of all let me introduce our components first.
1- 2x Servo motors : This motors are for our wheels with help of the ardunio we are going to drive them.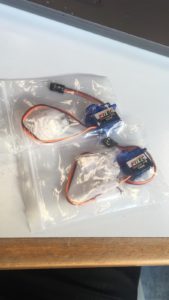
2- Jumper Cable : This Cables are for making connections easily and without soldering.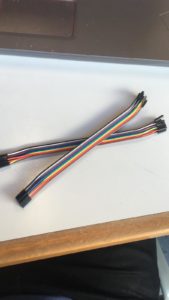
3- Line Tracker Sensor: This sensor will used for to our robot to follow the line.

4- 2x Wheels : As you can guess we got 2 wheel to direct our robot. 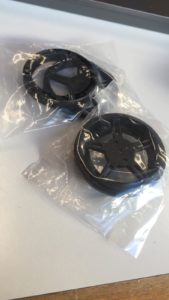
5-Screws:To fix ardunio and some other components to the main metal sheet.
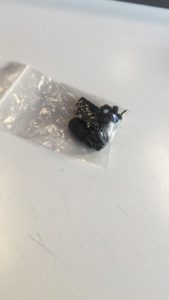
6-Ardunio-Nano: Ardunio is what we are going to program and manage our electrical components.
7- Sonar Sensor:Sonar sensor to detect object within the specific range. 8-Caster Wheel: This one will guide our back part of the robot.

9- Bluetooth: Bluetooth receiver to get command from our mobile device such as remoter.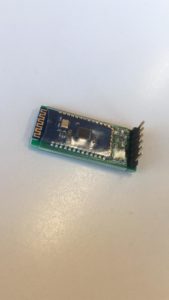
—————————————————-
Let us start to design main part what is metal sheet. I used ‘solid-works’ to design my metal sheet.The Design basically looks like the devil emoji icon.

<To be continued>
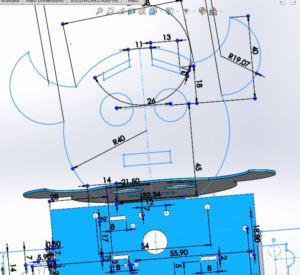
We got some problem with the CNC machine so everyone had same metal sheet but it is OK about to represent our robot.
After i connected all pins correctly and test it i started to do my mobile app from MIT App Inventor. I have putted buttons for motion and put icon image on it. For bounding the connection i got available connection and put in the list which are representing Bluetooth after you pressed the icon.
We have Speed Modifier to change the speed of the robot. Also Turbo mode to make the speed maximum. When u press Compass it helps you to control robot with phone’s accelerameter for example when u turn your phone right the robot also will turn right.

On the right side we have 2 buttons ; the one with the path is actually represents the Line Tracker Feature. And the other one is represents the object detecting mode.
I have made the buttons like this it is controlling the connection between phone and robot and then sends the command in 1 byte number since 1 byte is 8 bit so we can send command value up to 255.
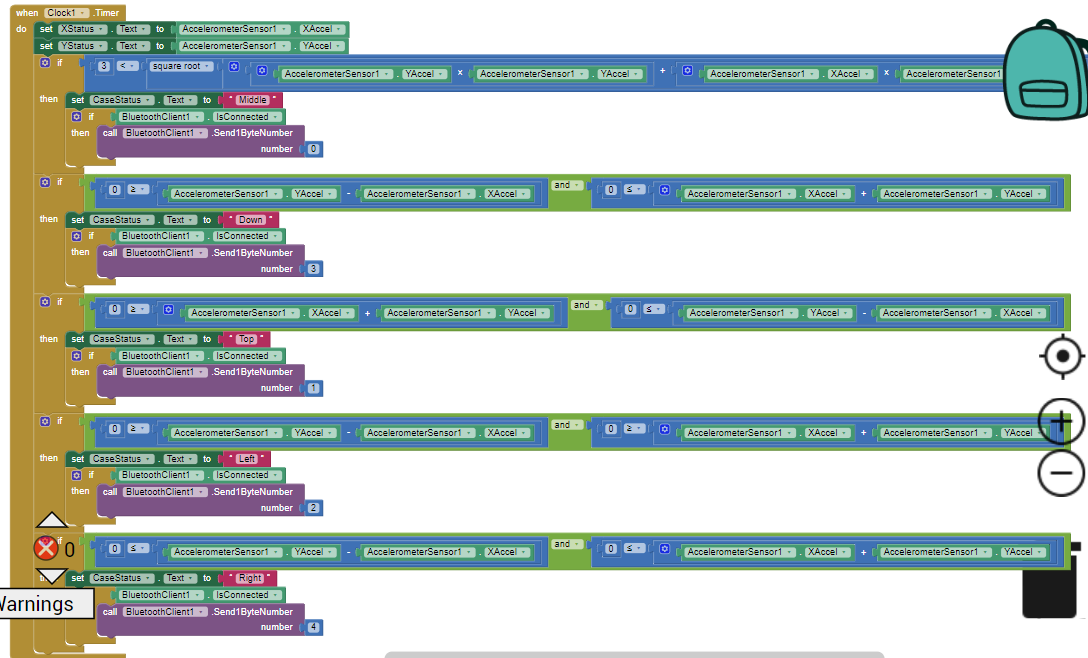
For accelerometer I have based on the video of our instructor which is : https://www.youtube.com/watch?v=sS2RH4GoxQM&list=PL6kQim6ljTJvzDRfrfEIeAB313i_AYpJT&index=39
After We detect the position i just sended to command which is turn right , left, forward, backward and stop !
Well on the other hand we have to handle the commands which is sent from phone(transmitter).To do that let us take a look at the Facilino .

At the beginning before making connection we have to identify the Bluetooth’s name and Bound rate and also define the pins.
 |
As you can see ; In loop phase we are just waiting to get command and then call the function which is labeled on. I have made loop for the function which is Object and Line because it needs to be recall every iteration. Also For Speed Modifier I am just changing the speed with respect to location of the bar where is it in mobile app and sending the commands.
|

I have declared the variables which are for use in functions.
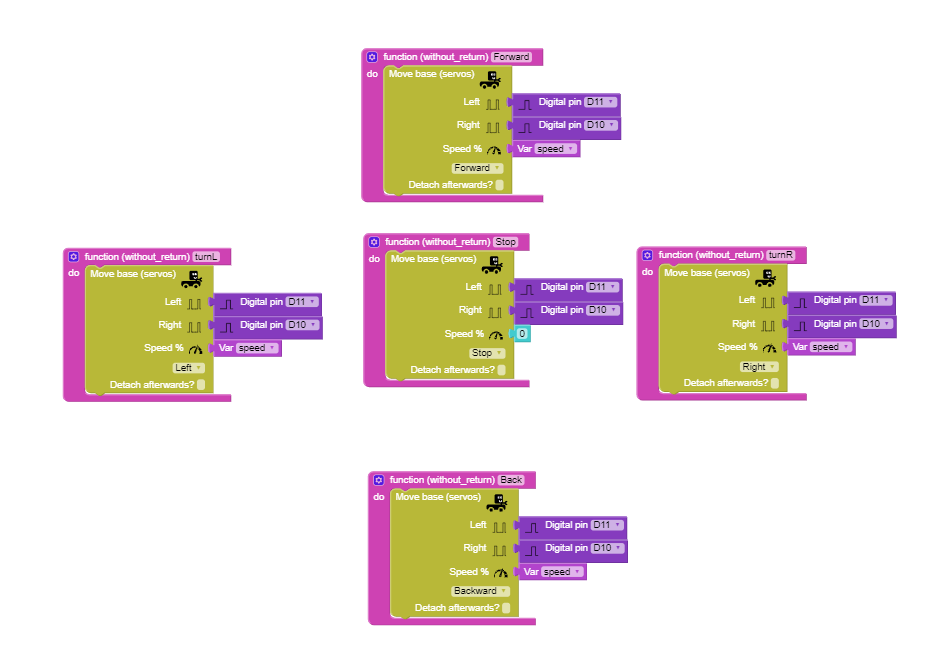
Our move functions are based on motor base block in facilino.
Object Avoidance:
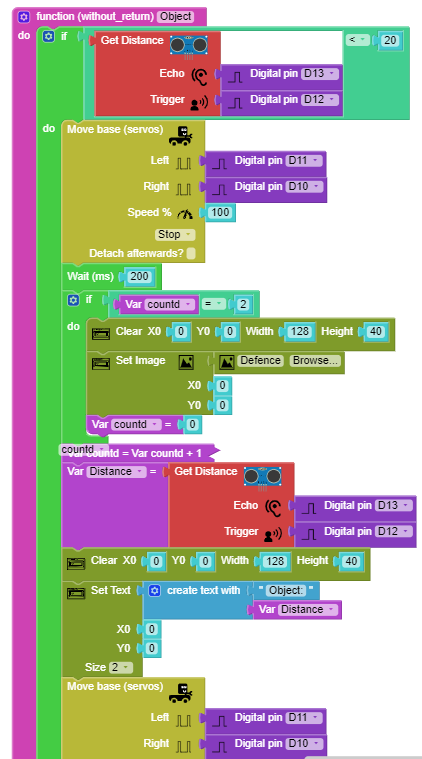
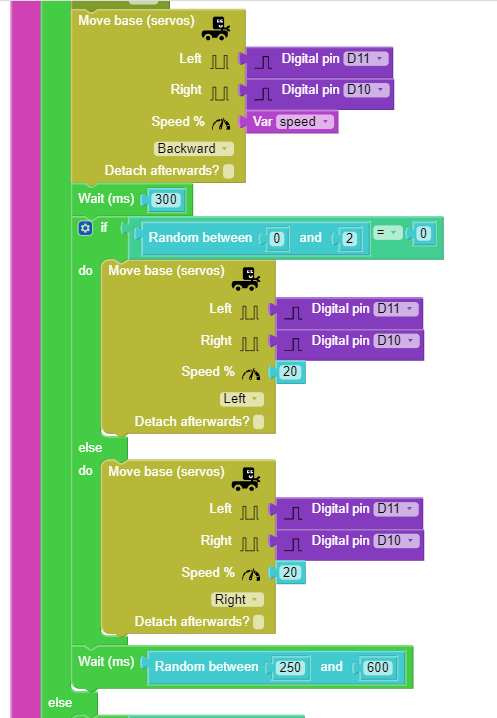
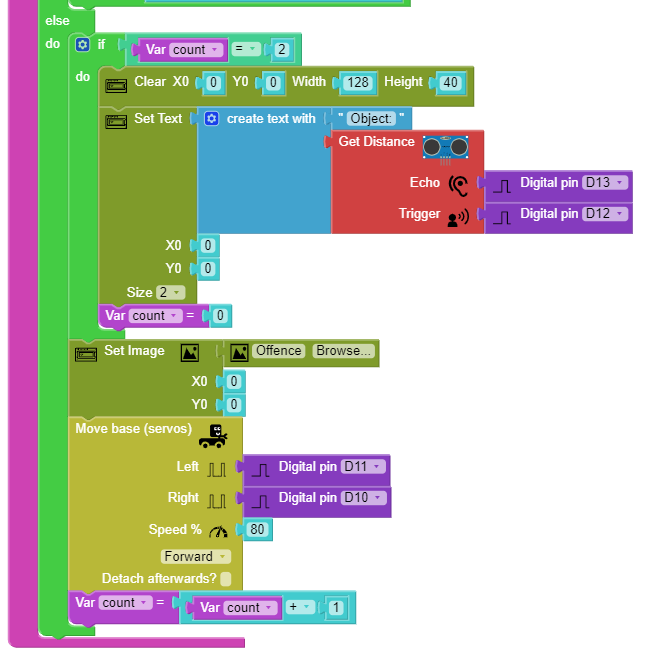
It is bassically getting the distance from sensor and Showing the distance between object and the robot , i decleared the variable countd for after robot sees 2 object where is close to the robot in the OLED Screen I am displaying Defence Image. On the other hand when i am going forward the OLED Screen display Offence Image.
 I also create random number generator to make rotation randomly after getting back right or left will be randomly and also to make the rotation not static created delay block and setted value the between 250 and 600 it will help to turn more or less in every iteration.

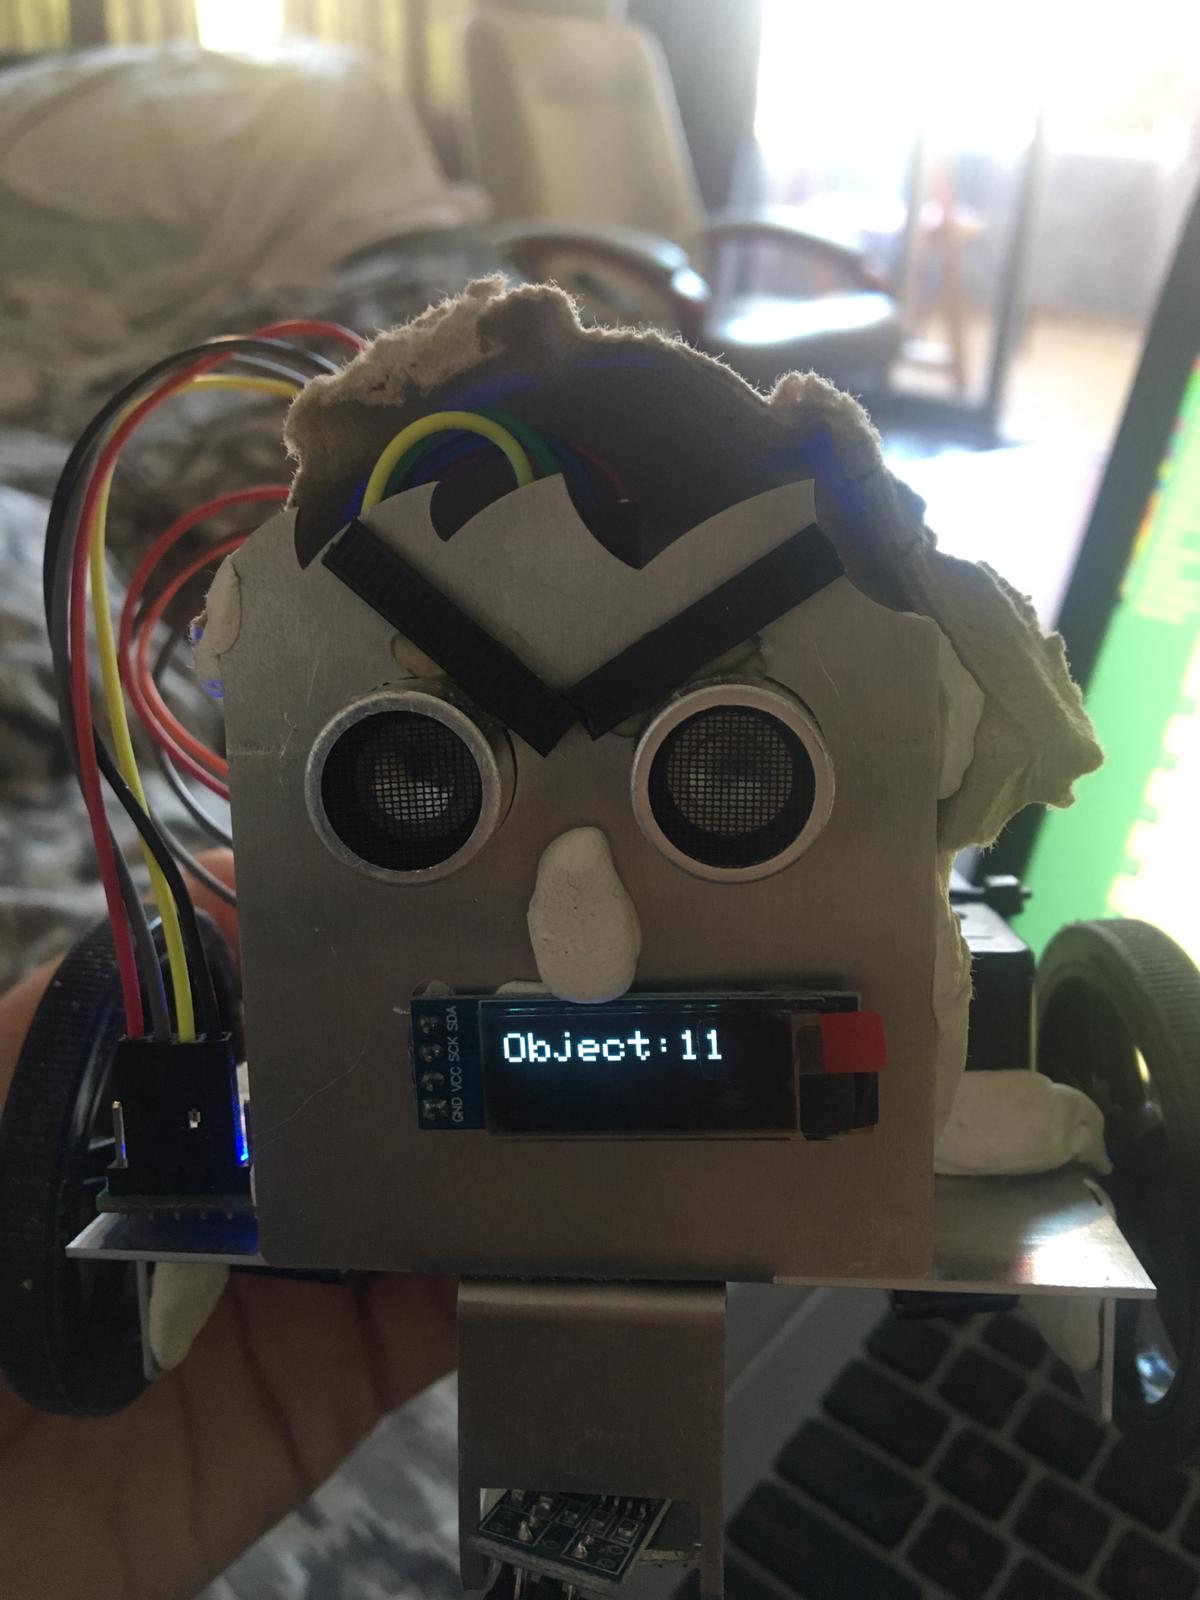
Also added Dance Function it basically makes random movement in every iteration and i puted that function in loop what makes 5 iteration.
Line Tracking:
For the Line Tracking i have made research in internet and tought to make it as simple as possible because since we have 1 sensor we have to compute it correctly.
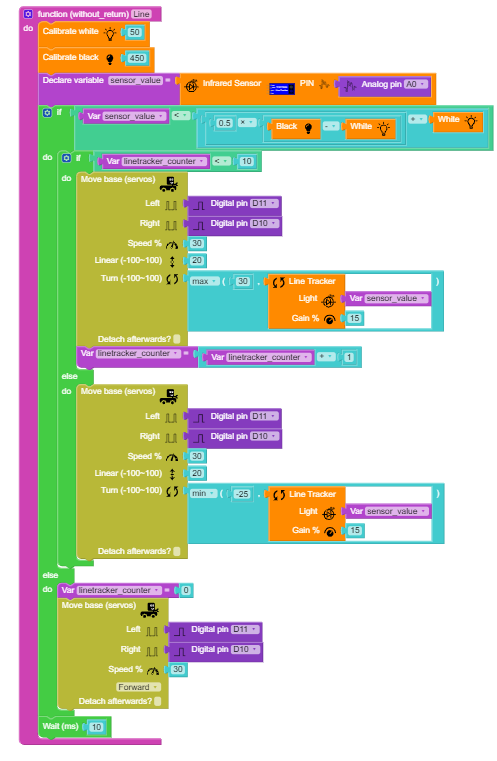
Well , with this one I have finished my backhand side and tested many times and customize the parameters of function to make it look good!
Mertali Koprulu , merkop@inf.upv.es , Mobile Robotic , UPV

